A Rookie’s Guide to Plastic Injection Molding
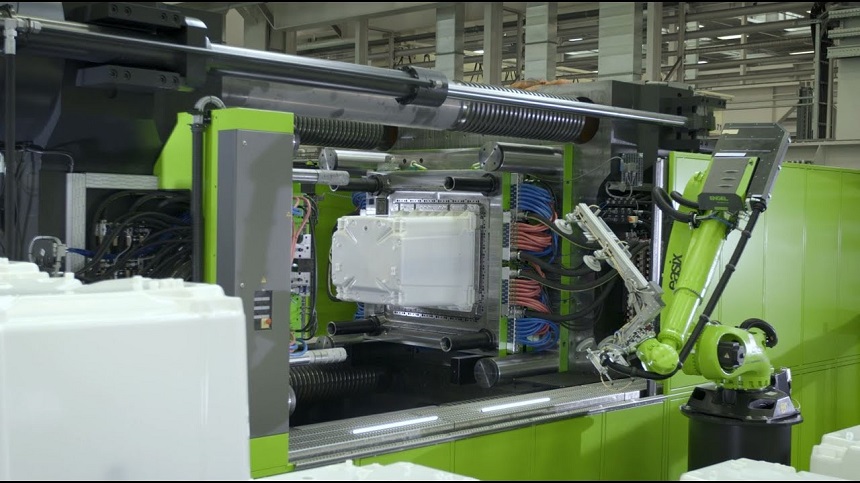
Injection molding has become one of the most popular manufacturing processes for producing high-volume plastic parts. In fact, executives, QA inspectors, and assembly supervisors all over the globe are realizing that injection molding helps create high-quality parts in bulk at a much lesser cost. This is why knowing how injection molding works is paramount.
This attractive combination of lower costs, high quantity, and high quality enable manufacturers to meet greater market demand by ramping up production without cutting into their bottom line.
Read as these injection molding company experts provide a rookie’s guide to plastic injection molding!
A brief history
1869
John Wesley Hyatt invented celluloid during this year, which was the first practical artificial plastic intended to replace ivory for producing billiard balls. The injection machines of the past used to heat up the plastic using a barrel and inject it into the mold through a plunger.
The Mid 1950s
The plastics industry was revolutionized by the invention of the reciprocating screw. This screw solved important issues with uneven heating of the plastic, opening up new horizons for producing plastic parts in bulk.
2022
Today, injection molding is a market worth billion. Every year, millions of metric tons of plastic parts are produced through injection molding. The demand for biodegradable materials has also been increasing of late due to environmental reasons.
Products made with injection molding
Look around — you’ll see a lot of products that are manufactured with injection molding. Well, chances are, you’re looking at one right now: your smartphone’s casing.
To identify them, look out for these three things: relatively uniform wall thickness throughout the part, witness marks on the covered side, and a parting line.
To help you get a better understanding of what can be accomplished with plastic injection molding, we’ve gathered some examples of products usually produced using this manufacturing process:
- Lego bricks (toys industry)
- Bottle caps (packaging industry)
- Model airplanes (miniatures industry)
- Car parts (automotive industry)
- Consumer electronics (electrical industry)
- Medical devices (healthcare industry)
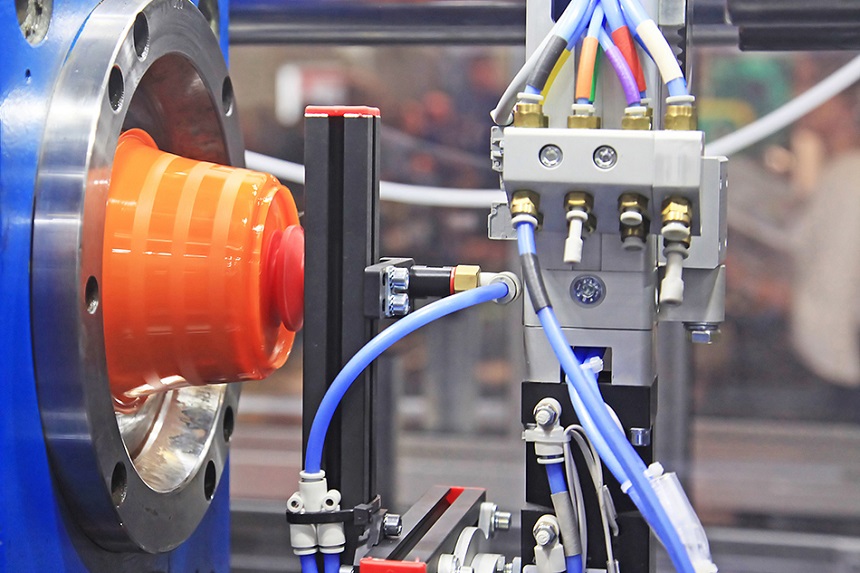
Benefits
Incredible visual appearance
Injection molding can manufacture finished products that don’t need a lot of extra finishing. To create mirror-like parts, the mold’s surfaces can be polished to a great extent. They can also produce textured surfaces after being bead-blasted.
Great tolerances and repeatability
The produced parts are indistinguishable and the process in itself is very repeatable. While some wear gradually occurs to the mold, typical full-scale production molds from tool steel can stand over 100,000 cycles, while a pilot-run aluminum mold will last between 5,000 and 10,000 cycles.
Extremely high productivity
Typically, in injection molding cycle lasts from 15 to 60 seconds, depending on the mold’s complexity and part size. In comparison, processes like 3D printing and CNC machining may require minutes to hours to come up with the same geometry. In addition, a single mold can accommodate a number of parts, thereby increasing the production capabilities of injection molding.
This means that producing thousands of identical parts every single hour is very much possible.
An array of materials
Almost all thermoplastic materials (and some silicones and thermosets) can be injection molded. This offers an array of available materials with diverse physical properties to design with.
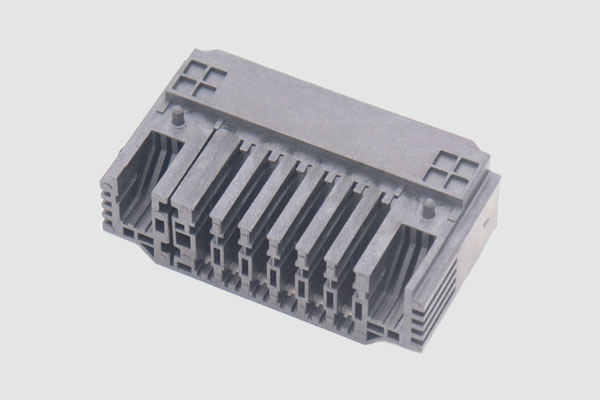
The physical properties of injection molded parts are quite appealing. Plus, you can tailor their properties by mixing different pellets together (for example, ABS/PC blends) or additives (for instance, glass fibers) to accomplish the desired level of impact resistance, stiffness, and strength.
High-volume manufacturing
There’s no better technology than injection molding when it comes to producing cost-effective, high volumes of identical plastic parts. Once the machine is set up and the mold is created, additional parts can be manufactured at a very low cost, and quite fast.
For injection molding, the minimum recommended production volume is 500 units. At this point, the economies of scale start to kick in and the relatively high upfront costs of tooling don’t have much effect on the unit price.
How do injection machines work?
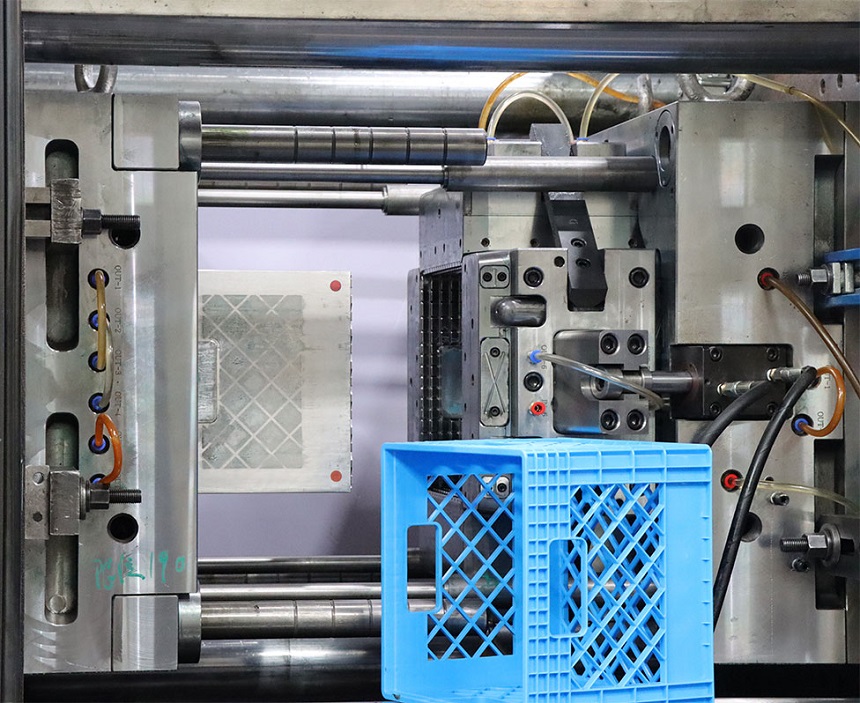
An injection machine comprises three main parts, namely, the injection unit, the ejector/clamping unit, and the mold (the heart of the entire process).
Let’s look at the purpose of these systems and how their basic mechanics affect the end result of the injection molding process.
The injection unit
The injection unit aims to melt the raw plastic and guide it into the mold. This includes the reciprocating screw, the barrel, and the hopper. Here’s how the injection molding process works:
- First, the polymer granules are dried and fed into the hopper. Here, they’re mixed with reinforcing additives like coloring pigment.
- The granules are placed inside the barrel, where they’re simultaneously mixed, heated, and moved toward the mold through a variable pitch screw. To melt the material, the geometry of the barrel and the screw are optimized so that the right amount of pressure is built.
- The ram moves forward, and the runner system helps inject the melted plastic into the mold. Once the material cools down, it solidifies and takes the shape of the mold.
- Lastly, the mold opens, and the ejector pins push the solid part out. Subsequently, the mold closes and the process repeats.
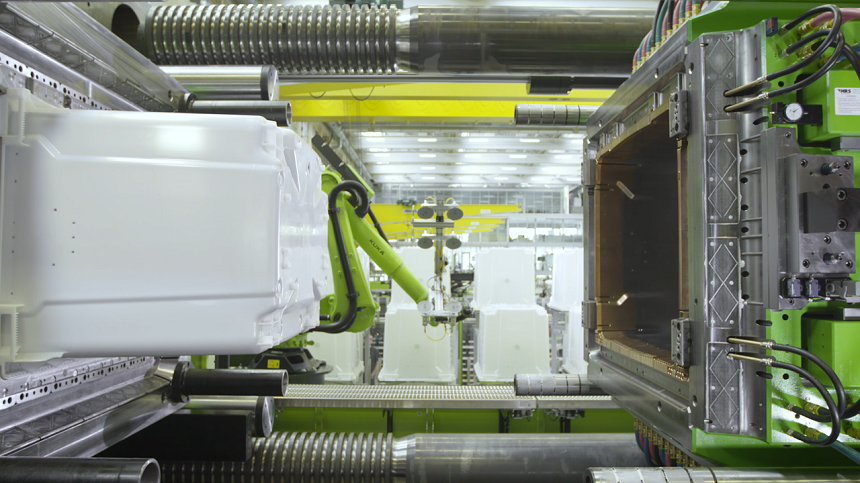
Since the whole cycle takes between 30 and 90 seconds depending on the part’s size, the process can be repeated extremely fast.
When the part is ejected, it’s either dispensed in a holding container or on a conveyor belt. Often, injection molded parts don’t require a lot of post-processing and are ready to be used straight away.
The ejector/clamping unit
The clamping system is found on the far side of an injection machine. The clamping system serves a couple of purposes: it pushes the part out of the mold after it opens and keeps the two parts of the mold firmly shut during the injection.
Once the part is ejected, it falls onto a bucket or conveyor belt for storage. The cycle then starts over again.
The different moving parts of the mold never have perfect alignment. This leads to the creation of two popular imperfections that are visible on almost all injection molded parts:
- Ejector (or witness) marks: They’re visible on the hidden side B of the part and are created because the ejector pins are slightly indented below or protruding above the mold’s surface.
- Parting lines: They’re visible on the side the two halves of the mold meet. They’re caused by slightly rounded edges of the mold and small misalignments.
The two sides of the injection mold
Injected molded parts have two sides, which are labeled as side A and side B. While side A faces the cavity (the mold’s front half), side B faces the core (the mold’s back half). Usually, these two sides serve different purposes:
Often referred to as the cosmetic side, side A has a better visual appearance. According to your design specifications, the faces on side A will either be textured or smooth.
While side B typically contains hidden structural elements of the part, it’s still very important. Since it includes snap-fits, ribs, bosses, etc., it’s known as the functional side. In most cases, side B will have visible marks on the ejector pins and have a rougher finish.
The anatomy of the injection mold
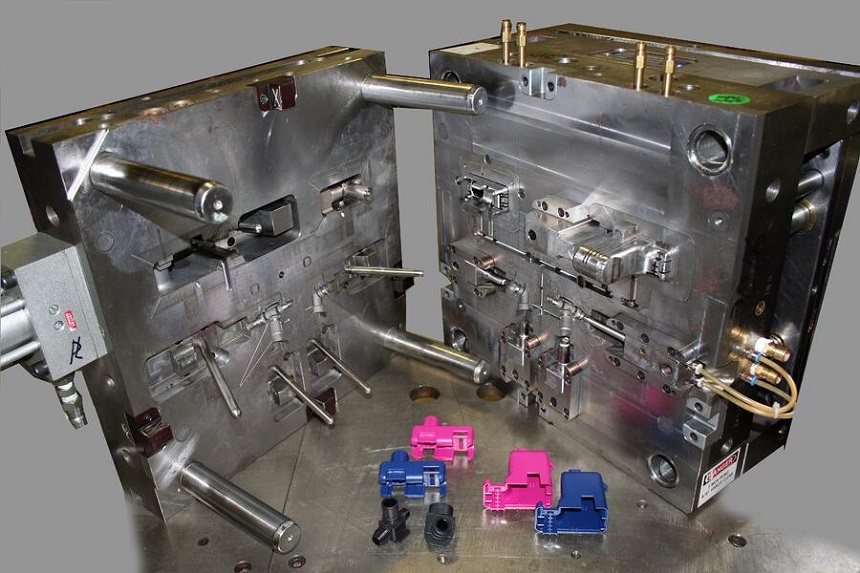
The straight-pull mold is the simplest, comprising 2 halves: the core (the back side) and the cavity (the front side).
In the majority of cases, manufacturers go for straight-pull molds because designing and producing them is simple. Plus, they don’t incur a lot of costs. However, there are certain design restrictions: the part shouldn’t have any overhangs (areas that aren’t supported from below) and should have a 2D geometry on every side.
If more intricate geometries are needed, retractable side-action cores or other inserts are needed.
Side-action cores are moving elements that are used to produce parts with overhangs (for instance, a hole or a cavity). In addition, they enter the mold either from the bottom or the top. However, since the cost increases rapidly, using side-actions sparingly is recommended.
Creating the injection mold
The mold is similar to a photograph’s negative version — its surface tension and geometry are transferred directly onto the injection molded part.
In injection molding, mold usually makes up the biggest portion of the start-up costs. This is because a high level of expertise is needed to design and manufacture a high-quality mold that can precisely produce tens of thousands of parts.
Molds are typically CNC machined out of tool steel or aluminum, after which they’re finished to the required standard. Besides the part’s negative, they also have other features, such as the internal water-cooling channels that facilitate and speed up the part’s cooling, and the runner system that aids the flow of the material into the mold.
Thanks to the recent advancements in 3D printing materials, molds suitable for low-run injection molding (around 100 parts or even less) can be manufactured at a lesser cost. Previously, these small volumes weren’t economically viable because the cost of traditional mold making was pretty high.
The runner system
The channel that guides the melted plastic into the mold’s cavity is known as the runner system. This system controls the pressure and flow with which the liquid plastic is injected into the cavity, and it’s removed once the ejection is complete. Typically, the runner systems consist of three main sections:
- The gate is the entry point of the material into the mold’s cavity. Since it determines the flow of the plastic, its location and geometry are vital.
- The runner unites the spur with the gates and spreads the melted plastic along the face. There can be one or multiple runners to guide the materials toward one or more parts. Once the ejection is complete, the runner system is cut off from the part. In injection molding, this is the only material waste, around 15% to 30% of which can be reused and recycled.
- The sprue is the key channel where the melted plastic primarily flows through as it makes its way into the mold.
Different applications require different types of gates. Following are the four types of gates used in injection molding:
- Hot tips: They’re directly connected to the spur and inject plastic from the topmost side. This way, no material is wasted on the runner system, which is why these types of gates are perfect for large-scale production. However, a dimple will be visible at the injection point.
- Post gates: They inject the material from the cavity’s backside, concealing the small blemish left from breaking. If your parts require a flawless visual appearance, choosing these gates will be your best bet.
- Tunnel gates: These inject material below the parting line. When the part is ejected from the mold, the runner system snaps off. Thus, manual removal isn’t required. For extremely large volumes, tunnel gates are ideal.
- Edge gates: They’re the most common gate type and inject material at the parting line of the two halves of the mold. Since the runner system must be manually removed later, a small imperfection is left at the injection point.
The vestige
There’s a small, usually visible imperfection at the point where the runner system is connected with the part. This is known as a vestige.
If the presence of the vestige isn’t desirable for aesthetic purposes, it can also be concealed in part side B (the functional side)
Get top-quality custom plastic injection molding through PTMS — the finest plastic injection molding company in China
As an ISO 9001-2008 certified injection molding company operating for more than two decades, PTMS has injection molders who provide one-stop service from injection mold design, mold making and plastic injection molding mass production to products assembly for a holistic custom manufacturing experience.
Give them a call for more information on this plastic injection molding company!
